To remove tar spots without scratching paint, use a commercial tar remover or household solvent like WD-40, let it penetrate for 3-5 minutes, then gently wipe with a microfiber cloth. Never scrape dry tar directly, as this will damage the paint surface. Always work in shade and test any product on an inconspicuous area first.
What Are Tar Spots and Why Do They Stick to Paint?
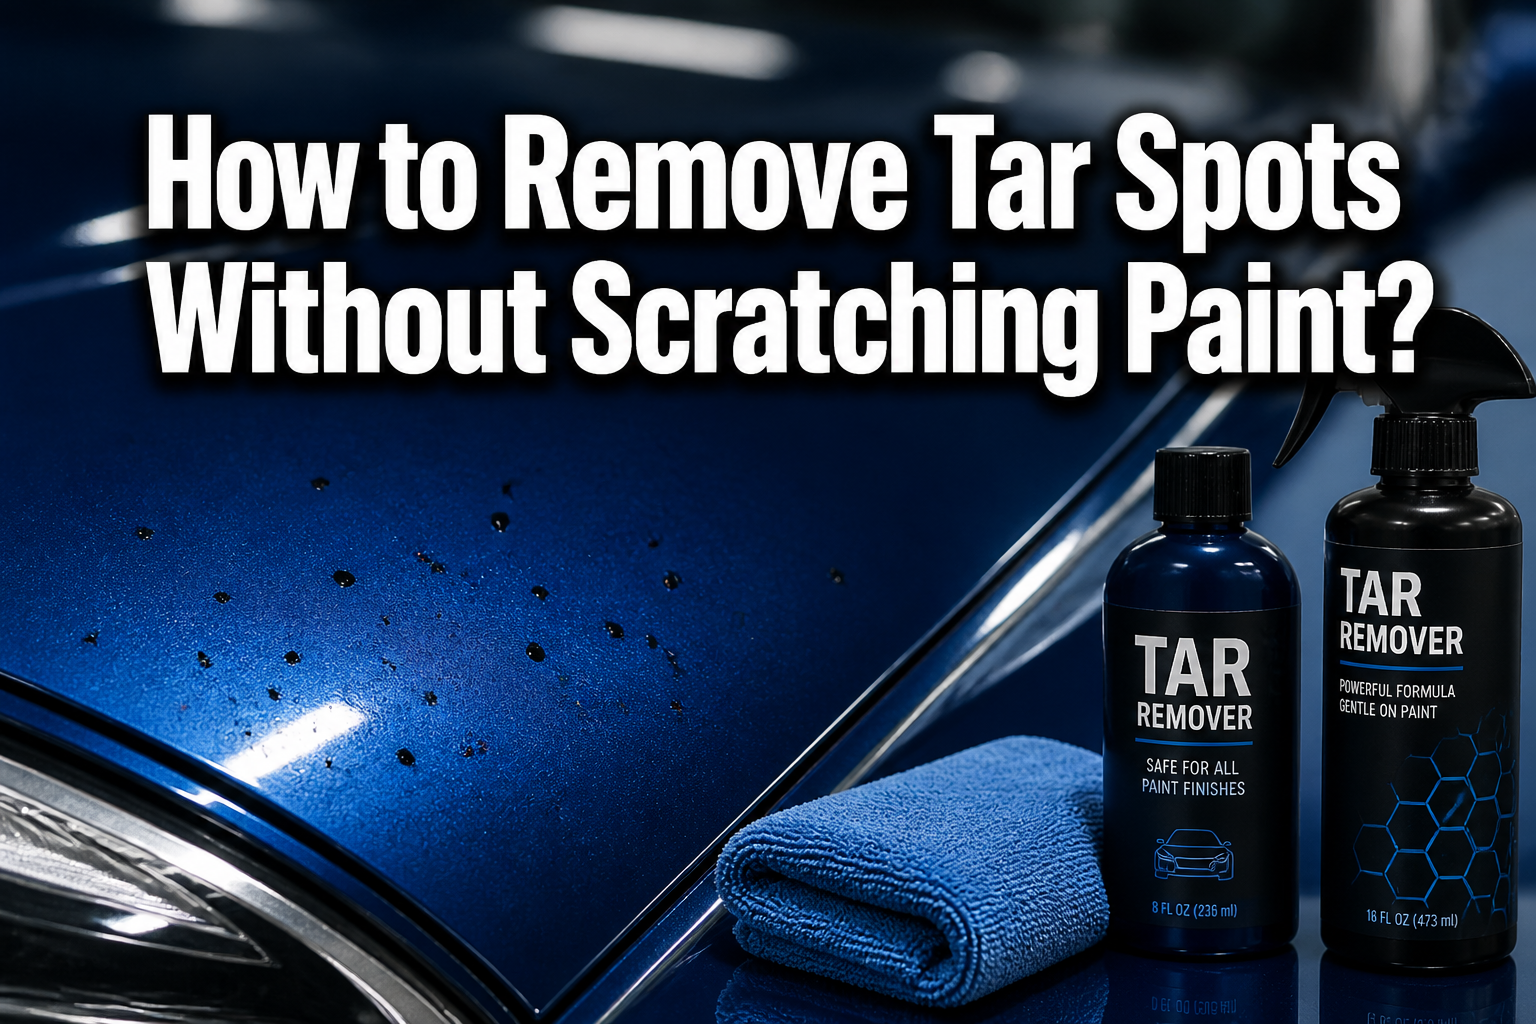
Tar spots are small, black, sticky deposits that bond to vehicle paint surfaces when hot asphalt particles become airborne during road construction or on extremely hot days. These petroleum-based substances cool and harden on contact with your car’s surface, creating a strong adhesive bond that becomes more difficult to remove over time.
Fresh tar spots remain somewhat pliable and remove more easily than aged deposits. Once tar cools completely, it forms a semi-permanent bond with paint that requires solvents to break down the petroleum compounds before safe removal.
Common sources include:
- Road construction zones with fresh asphalt.
- Parking lots during seal coating.
- Highway driving on hot summer days.
- Construction equipment and machinery.
The key to successful tar spot removal lies in understanding that mechanical force alone will scratch paint – chemical dissolution must happen first.
How to Remove Tar Spots: Step-by-Step Method
Start by parking in the shade and ensuring the paint surface feels cool to the touch. Hot paint surfaces cause solvents to evaporate before they can penetrate the tar effectively.
Materials needed:
- Commercial tar remover (Bug and Tar Remover works best).
- Microfiber cloths (at least 3-4 clean ones).
- Plastic scraper or old credit card.
- Clay bar and lubricant.
- Car wax or sealant.
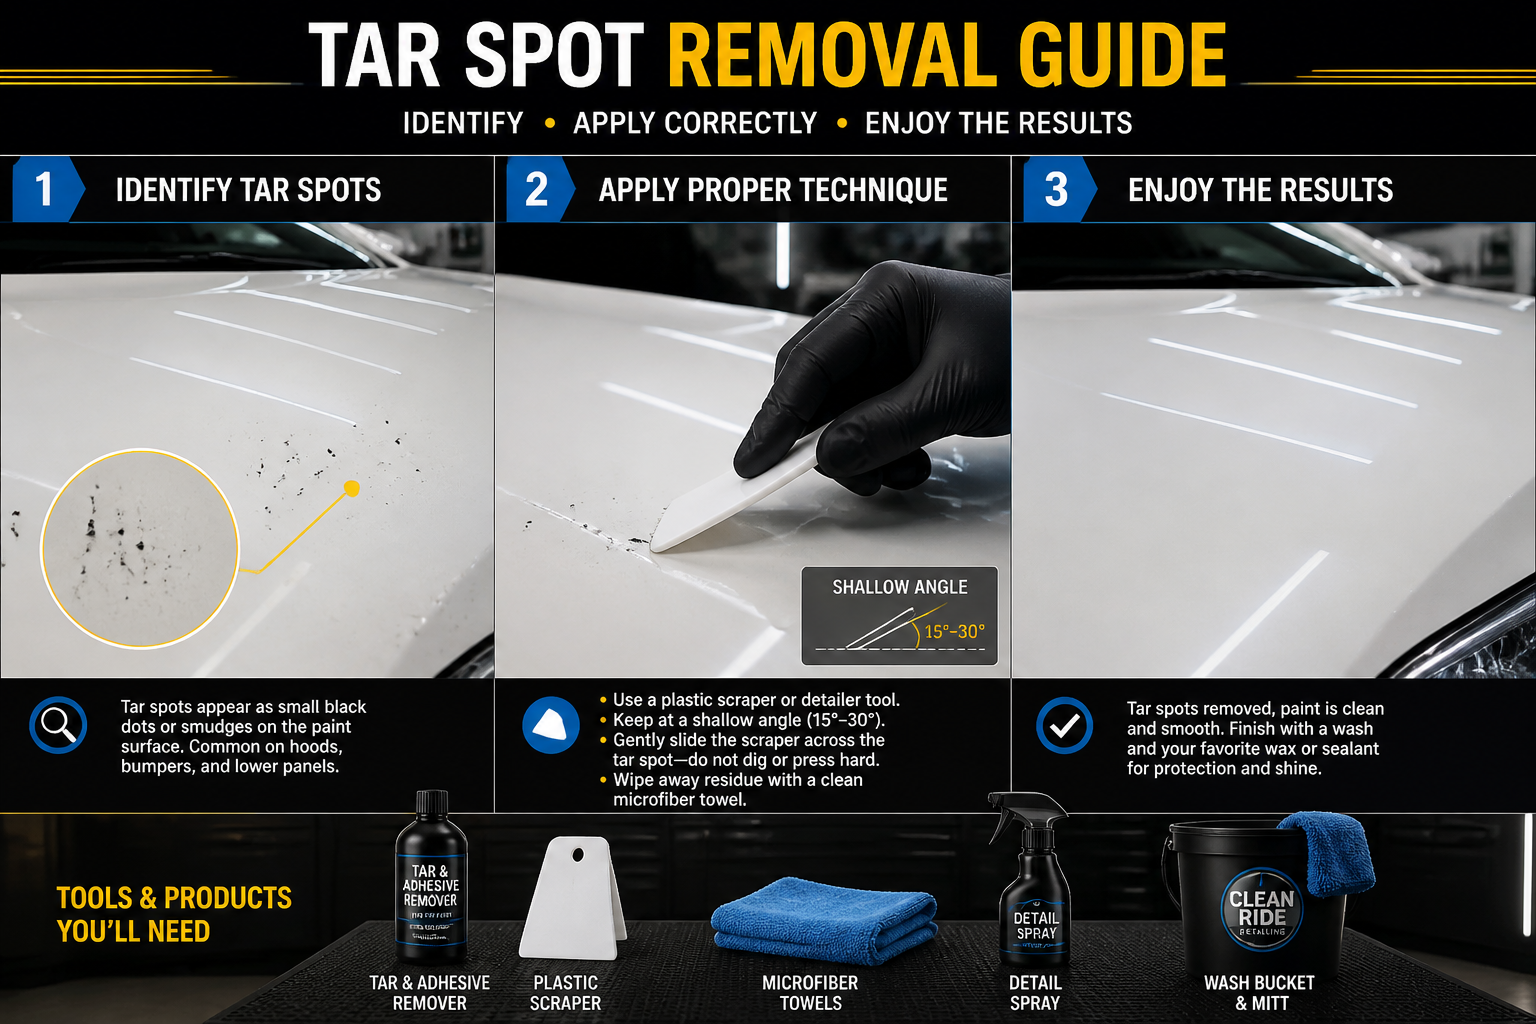
Step 1: Apply solvent
Spray or apply tar remover directly onto each spot. Allow 3-5 minutes for penetration – you’ll notice the tar beginning to soften and darken.
Step 2: Gentle removal
Use a microfiber cloth to gently wipe the softened tar. For stubborn spots, use a plastic scraper at a shallow angle, pushing rather than pulling to avoid paint damage.
Step 3: Clay bar treatment
After removing visible tar, use a clay bar with proper lubricant to eliminate any remaining residue that regular washing won’t remove.
Step 4: Protect the surface
Apply car wax or paint sealant to restore the protective coating removed during the cleaning process.
What Products Work Best to Remove Tar Spots Safely?
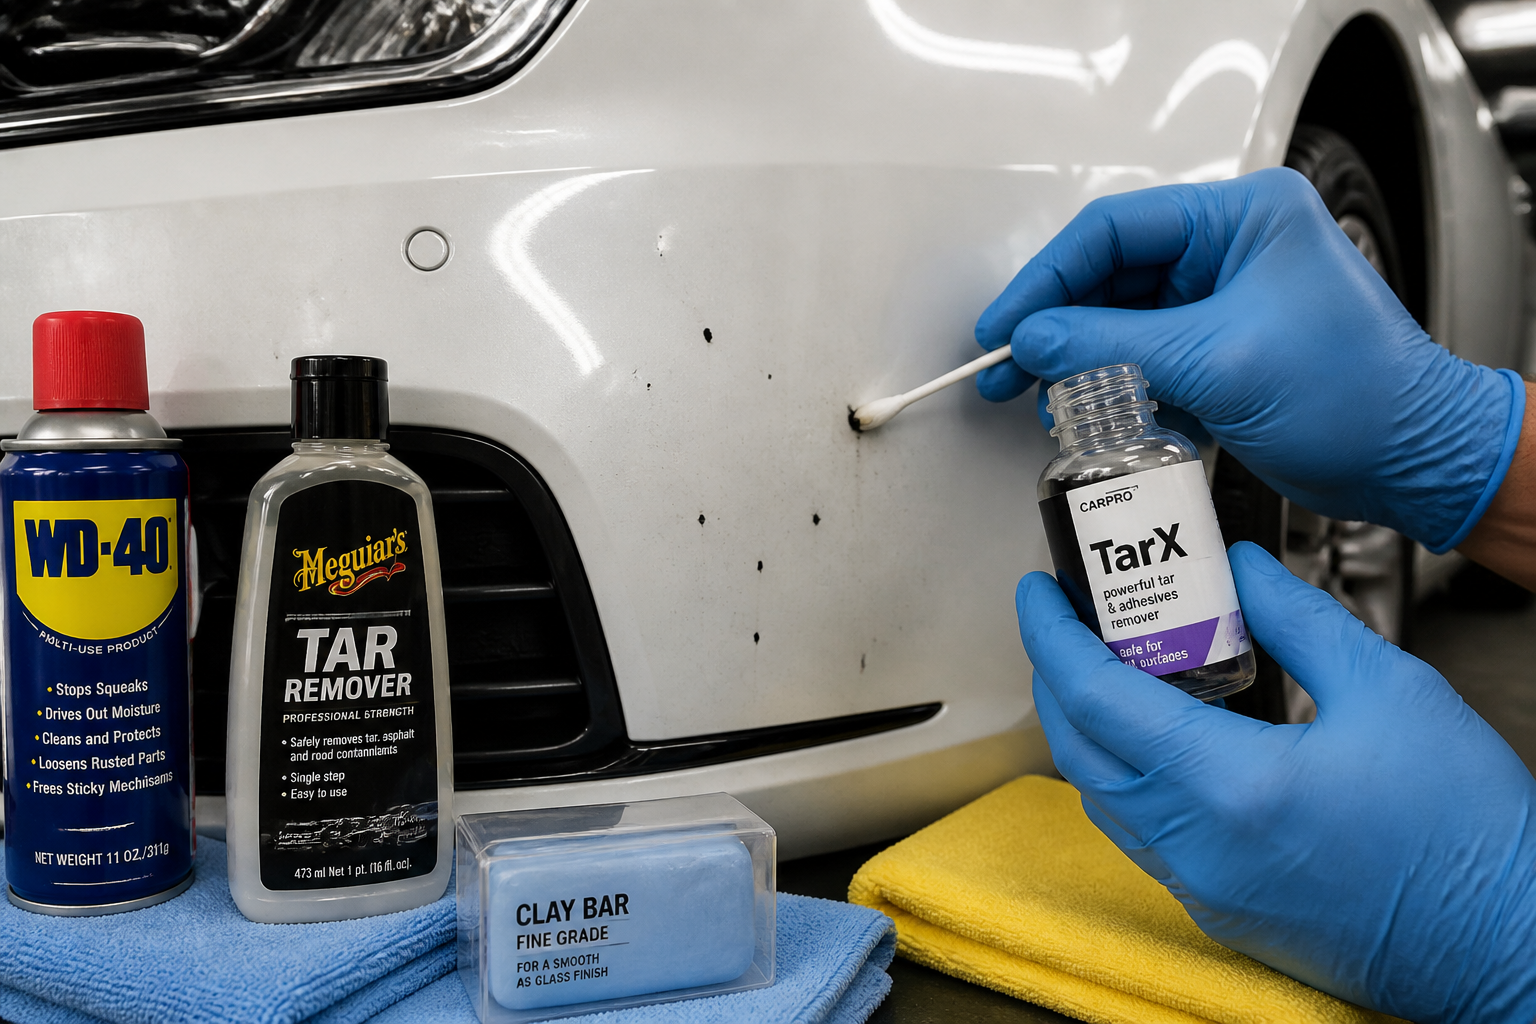
Commercial automotive tar removers provide the safest and most effective solution for paint protection. Products like Chemical Guys Bug and Tar Remover or Meguiar’s Heavy Duty Bug and Tar Remover are specifically formulated to dissolve petroleum-based deposits without damaging automotive paint or clear coat.
Top commercial options:
- Chemical Guys Bug and Tar Remover: Fast-acting, paint-safe formula.
- Meguiar’s Heavy Duty Bug and Tar Remover: Professional-grade effectiveness.
- Mothers Bug & Tar Remover: Budget-friendly with good results.
- Adam’s Bug Remover: Gentle on paint, works on fresh and aged tar.
Household alternatives that work:
- WD-40 (let penetrate 5 minutes before wiping).
- Goo Gone (automotive-safe version only).
- Mineral spirits (use sparingly, test first).
Avoid these common mistakes:
- Never use gasoline, acetone, or paint thinner.
- Don’t apply products in direct sunlight.
- Avoid abrasive materials like steel wool or rough towels.
Choose commercial products for valuable vehicles or large areas. Household alternatives work for spot treatment but require more careful application and testing.
How Long Does It Take to Remove Tar Spots?
Individual tar spots typically require 5-10 minutes each for complete removal, including solvent application time and gentle cleaning. Fresh, soft tar removes in 2-3 minutes, while aged, hardened deposits may need 15-20 minutes with multiple solvent applications.
Time factors that affect removal speed:
- Tar age: Fresh spots (under 24 hours) remove 3x faster than week-old deposits.
- Temperature: Warm conditions (70-80°F) work best; cold weather doubles removal time.
- Spot size: Small spots (pea-sized) take 5 minutes; large areas may need 30+ minutes.
- Product choice: Commercial removers work 2x faster than household alternatives.
Realistic time expectations:
- 1-3 small spots: 15-20 minutes total.
- 5-10 spots: 45-60 minutes.
- Heavy contamination: 2-3 hours, including clay bar treatment.
Plan extra time for clay bar treatment and re-waxing, which adds 30-45 minutes but ensures complete removal and paint protection.
Can You Remove Tar Spots Without Special Products?
Yes, several household items can remove tar spots safely, though they work more slowly than commercial products and require more careful application. WD-40 ranks as the most effective household alternative, dissolving tar without paint damage when used properly.
Effective household methods:
- WD-40: Spray on, wait 5 minutes, wipe gently with a microfiber cloth.
- Peanut butter: Natural oils dissolve tar; requires thorough washing afterward.
- Ice cubes: Harden tar for easier scraping (risk of scratching increases).
- Hair dryer + plastic scraper: Warm tar scrapes more easily.
Application tips for household products:
- Test on the hidden area first.
- Use minimal amounts to avoid staining.
- Work in small sections.
- Follow immediately with a soap and water wash.
- Apply car wax afterward to restore protection.
When to avoid household methods:
- Expensive or show vehicles.
- Large contaminated areas.
- Dark-colored paint (shows scratches more easily).
- Clear coat damage is already present.
Commercial products remain safer and more predictable, but household alternatives work well for emergencies or budget-conscious car owners.
What Mistakes Should You Avoid When Removing Tar?
Never attempt to scrape or pick at dry tar spots with fingernails, keys, or metal tools – this guarantees paint scratches that cost far more to repair than the tar removal process. The most common mistake involves rushing the solvent application time, leading to incomplete tar softening and increased scraping force.
Critical mistakes to avoid:
Using the wrong tools:
- Metal scrapers or razor blades.
- Paper towels or rough cloths.
- Abrasive pads or steel wool.
- Fingernails or keys for picking.
Poor technique:
- Working in direct sunlight.
- Scraping before solvent penetration.
- Using excessive force or pressure.
- Skipping the test spot application.
Product errors:
- Mixing different solvents.
- Using gasoline or harsh chemicals.
- Applying too much product at once.
- Forgetting to wash the residue completely.
The biggest mistake: Letting tar spots sit for weeks or months. Fresh tar removes in minutes; aged tar may require professional paint correction if removal attempts cause scratching.
Recovery tip: If you notice micro-scratches during removal, stop immediately. Apply more solvent, wait longer, and use gentler pressure. Minor scratches often polish out with compound, but deep scratches need professional repair.
Frequently Asked Questions
Will tar spots damage my paint permanently?
No, tar spots themselves don’t damage paint, but improper removal techniques will cause permanent scratches. Tar acts as a protective layer until removed, though it should be addressed within 2-3 weeks before it bonds more permanently.
Can I use a pressure washer to remove tar?
Pressure washers alone won’t remove tar spots effectively and may drive debris into the paint. Use chemical removal first, then gentle washing to clean residue.
Is it safe to remove tar from matte paint finishes?
Yes, but use extra caution with matte finishes. Test products in inconspicuous areas and avoid clay bars, which can create glossy spots on matte surfaces.
How do I prevent tar spots in the future?
Apply quality car wax or paint sealant every 3-4 months. Protected surfaces release tar more easily. Avoid driving behind construction vehicles when possible.
Can tar removal products damage rubber or plastic trim?
Most automotive tar removers are safe for rubber and plastic, but test first. Avoid getting product on vinyl graphics or wraps without manufacturer approval.
Should I remove tar spots immediately or wait?
Remove fresh tar within 24-48 hours when possible. Fresh tar removes more easily and with less risk of paint damage than aged deposits.
What if the tar spot is under dirt or grime?
Wash the area first with soap and water, then apply tar remover to clean the surface. Dirt mixed with solvents can create abrasive compounds that scratch paint.
Can I remove tar spots from headlights and windows?
Yes, the same products and techniques work safely on glass and plastic headlight lenses. Clay bars work particularly well on glass surfaces.
How often should I clay bar after tar removal?
Clay bar treatment should follow any tar removal session where residue remains after initial cleaning. This typically means every tar removal session for the best results.
Will car washes remove tar spots?
Standard car washes cannot remove tar spots. The mechanical action and soap aren’t strong enough to dissolve petroleum-based tar deposits.
Is professional removal worth the cost?
Professional removal makes sense for expensive vehicles, extensive contamination, or when you lack confidence in DIY methods. Costs typically range $50-150 depending on severity.
Conclusion
Successfully removing tar spots without scratching paint requires patience, proper products, and gentle technique. Commercial tar removers provide the safest approach, while household alternatives like WD-40 work effectively with careful application. The key lies in allowing solvents adequate time to penetrate and soften tar before attempting removal.
Take action now: Inspect your vehicle for tar spots and address them within the next few days while they’re still relatively fresh. Gather the necessary materials – commercial tar remover, microfiber cloths, and car wax – and plan 30-60 minutes for the complete process, including protection restoration.