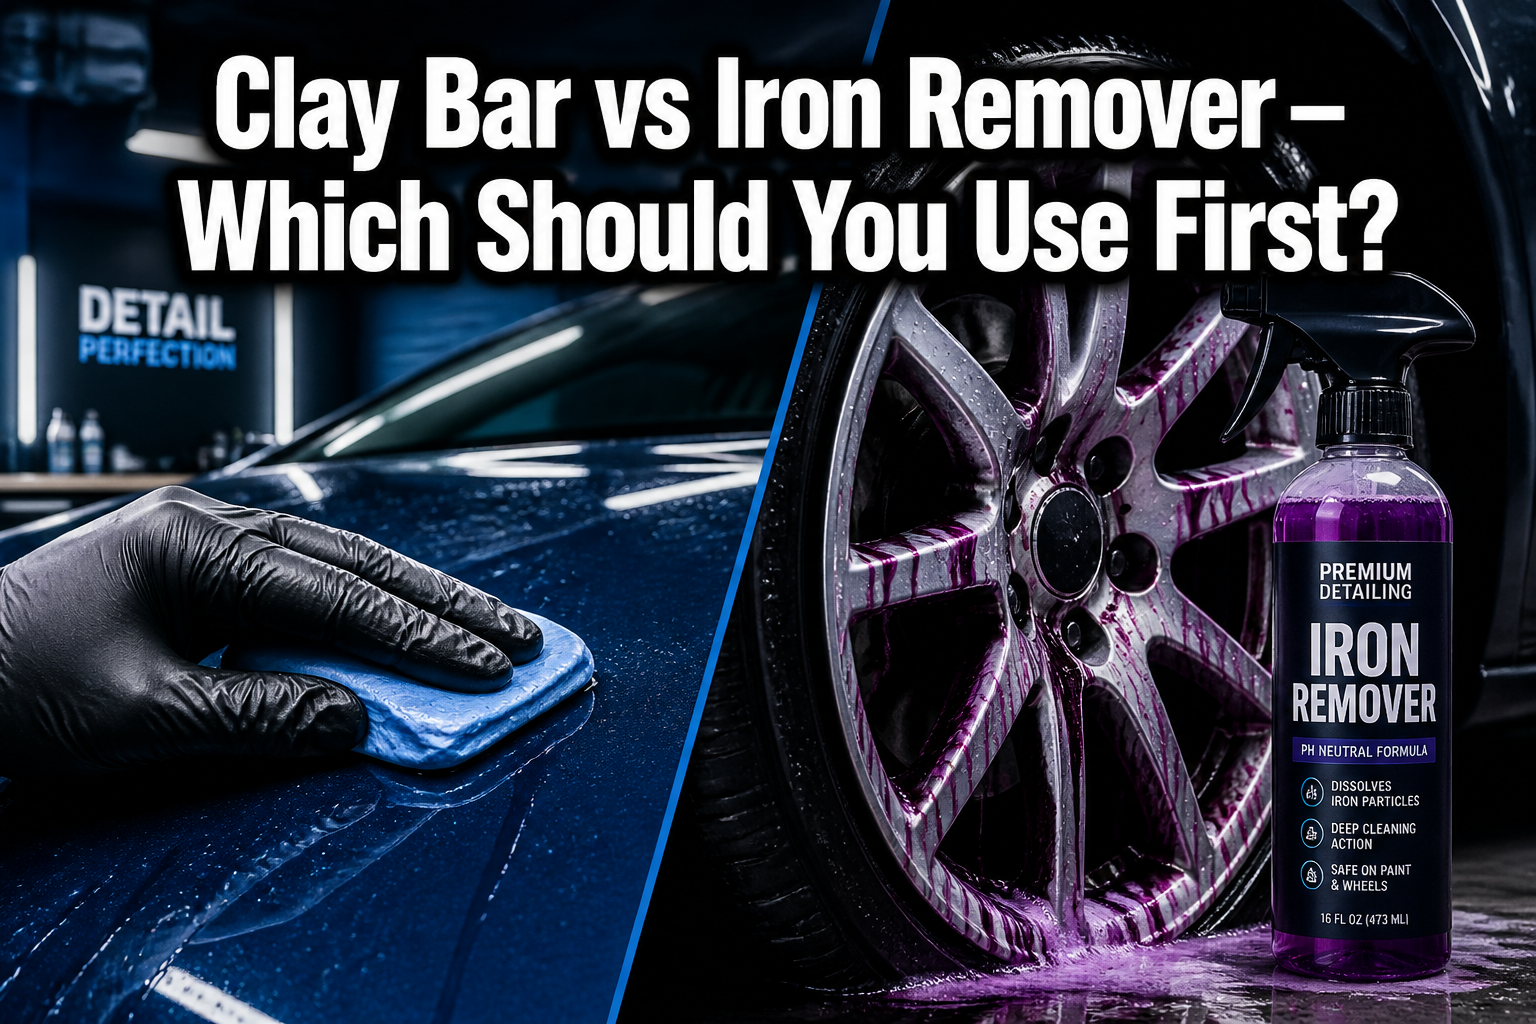
Use the iron remover first, then the clay bar. Iron remover chemically dissolves embedded metal particles that clay bars cannot remove, while clay bars physically remove surface contaminants that remain after chemical treatment. This sequence prevents clay bar damage and achieves better decontamination results.
What’s the Difference Between Clay Bar and Iron Remover?
Clay bars and iron removers attack automotive contaminants through completely different mechanisms. Iron removers use chemical reactions to dissolve metal particles, while clay bars use mechanical action to pull surface contaminants from paint.
Iron removers contain acids that react specifically with ferrous metals, turning purple when they encounter brake dust, rail dust, and industrial fallout. These products work at the molecular level, breaking chemical bonds that hold metal particles to your car’s surface.
Clay bars consist of synthetic polymers that grab onto contaminants through physical contact. They excel at removing organic materials like tree sap, tar, bug residue, and paint overspray that don’t respond to chemical treatment.
Choose an iron remover for: Brake dust, rail dust, industrial fallout, and metal shavings.
Choose a clay bar for: Tree sap, tar spots, paint overspray, water spots, and road grime.
The key difference lies in penetration depth. Iron particles embed deep into paint pores where clay bars can’t reach effectively, while surface contaminants sit on top where mechanical removal works best.
Why Should You Use an Iron Remover Before a Clay Bar?
Using an iron remover first prevents clay bar damage and improves cleaning results. Metal particles act like sandpaper when dragged across paint during clay bar treatment, creating marring and reducing clay bar lifespan.
Iron remover dissolves these abrasive particles before mechanical contact occurs. This chemical pre-treatment allows clay bars to glide smoothly across the surface without encountering embedded metal debris.
Professional detailing sequence benefits:
- Prevents clay bar contamination with metal particles.
- Reduces marring and scratching during clay bar use.
- Extends clay bar lifespan by 40-60%.
- Achieves deeper decontamination results.
- Saves time by reducing clay bar cleaning frequency.
Common mistake: Using a clay bar first pushes surface dirt into paint pores, making the iron remover less effective. The reversed sequence also requires multiple clay bar cleanings as metal particles continuously contaminate the clay surface.
Exception: Light maintenance washes on garage-kept vehicles may only need clay bar treatment if no metal contamination is visible.
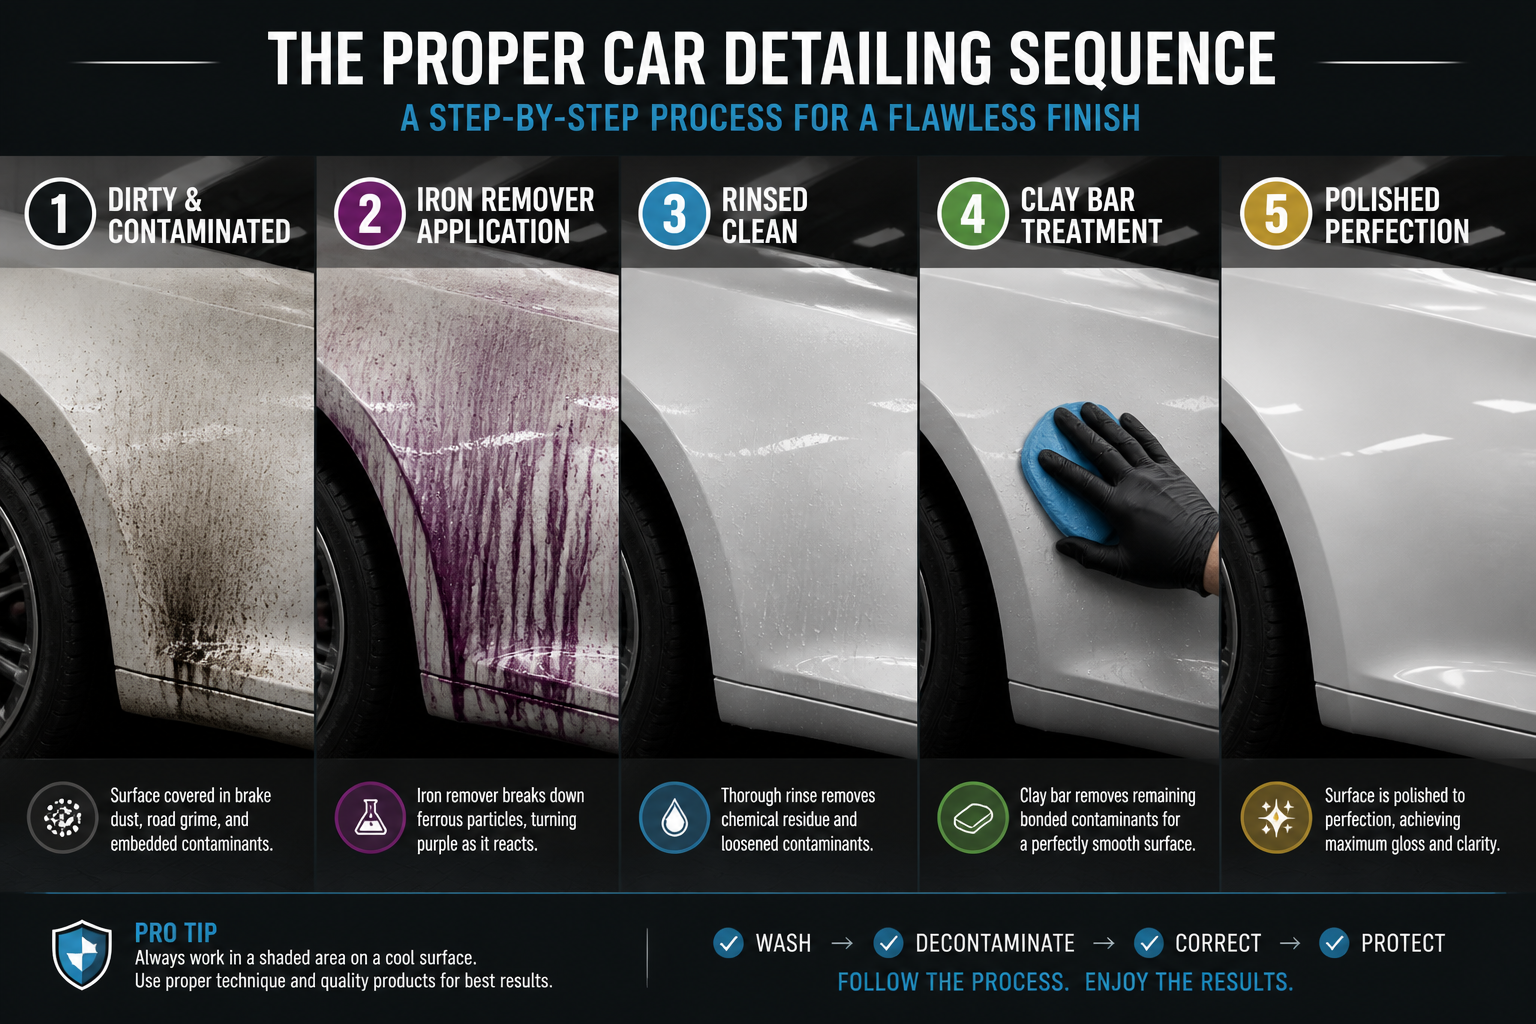
How Does the Clay Bar vs Iron Remover Process Work?
The complete decontamination process follows a specific chemical-to-mechanical sequence that maximizes cleaning effectiveness while protecting paint surfaces.
Step-by-step iron remover application:
- Rinse the vehicle to remove loose dirt.
- Spray iron remover on cool, shaded surfaces.
- Allow 3-5 minutes for the purple reaction to develop.
- Agitate stubborn areas with a soft brush.
- Rinse thoroughly with high-pressure water.
Step-by-step clay bar process:
- Ensure the surface is completely clean and cool.
- Spray clay lubricant on 2×2-foot sections.
- Knead the clay bar into a flat, clean surface.
- Glide clay across the surface with light pressure.
- Fold the clay to expose a clean surface frequently.
- Wipe residue with a clean microfiber towel.
Critical timing: Wait 10-15 minutes after the iron remover rinse before clay bar application. This prevents chemical interference and ensures proper clay bar adhesion.
When to Use Clay Bar vs Iron Remover Separately?
Iron remover alone works for light metal contamination on newer vehicles or cars with recent paint correction. Clay bar alone handles surface contaminants on garage-kept vehicles with minimal environmental exposure.
Use the iron remover only when:
- The vehicle shows a purple reaction during testing.
- Brake dust buildup is visible on wheels and lower panels.
- The car is exposed to industrial areas or rail transport.
- Paint feels smooth but appears dull or spotted.
Use a clay bar only when:
- No metal contamination is present (no purple reaction).
- Surface feels rough but shows no metallic particles.
- Dealing with organic contaminants like sap or tar.
- Performing light maintenance between major details.
Use both products when:
- The vehicle hasn’t been detailed in 6+ months.
- Multiple contamination types are present.
- Paint feels rough and shows metal particles.
- Preparing the surface for paint correction or coating application.
Professional tip: Test the iron remover on a small hidden area first. No purple reaction indicates clay bar alone may suffice for that specific vehicle.
Clay Bar vs Iron Remover: Cost and Frequency Comparison
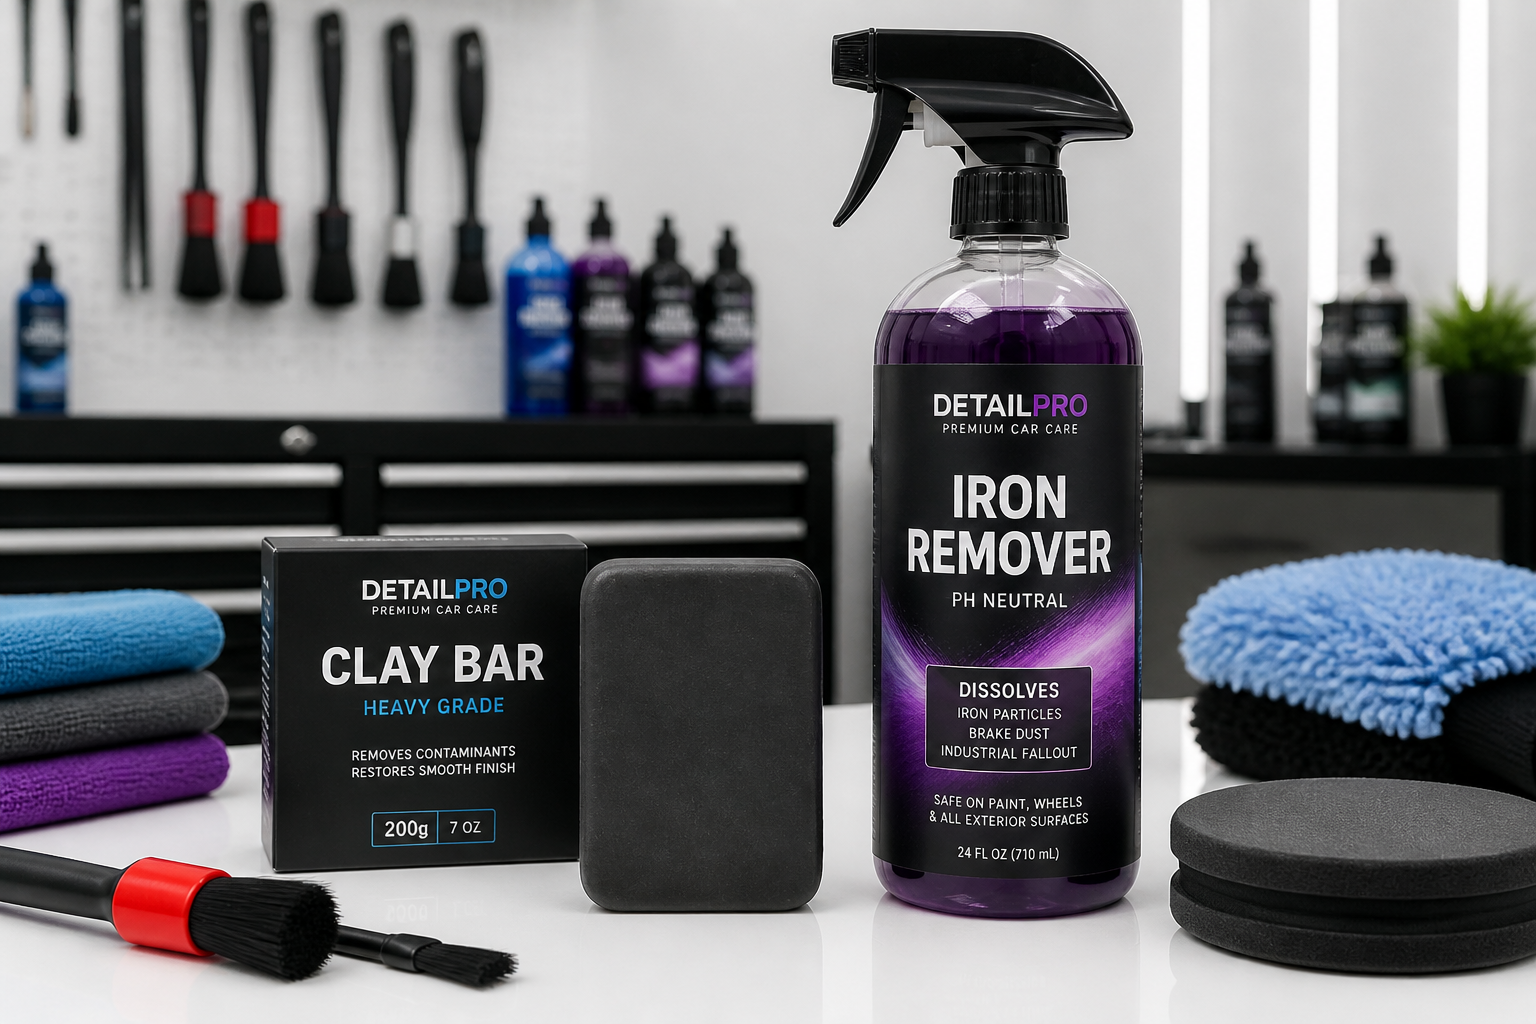
Iron remover costs $15-30 per bottle and typically lasts 8-12 applications on average vehicles. Clay bars cost $20-40 and handle 15-25 complete vehicle treatments with proper care.
Frequency guidelines:
- Iron remover: Every 3-4 months for daily drivers, monthly for high-contamination areas.
- Clay bar: Every 6 months for garage-kept cars, every 3 months for outdoor parking.
Cost per treatment breakdown:
- Iron remover: $2-4 per vehicle treatment.
- Clay bar: $1-3 per vehicle treatment.
- Combined process: $3-7 per complete decontamination.
Budget considerations: Skipping iron remover increases clay bar replacement frequency by 40-50%, making the combined approach more economical long-term. Professional detailing services charge $50-100 for complete decontamination, making DIY treatment cost-effective after 8-10 applications.
Money-saving tip: Buy iron remover in gallon containers and clay bars in bulk packs if detailing multiple vehicles regularly.
Common Mistakes in Clay Bar vs Iron Remover Selection
Using a clay bar on heavily contaminated surfaces ranks as the most expensive mistake in automotive detailing. This approach destroys clay bars quickly and creates paint marring that requires correction.
Frequent errors include:
- Applying iron remover in direct sunlight (reduces effectiveness).
- Using a clay bar without proper lubrication (causes scratching).
- Mixing iron remover with other chemicals (dangerous reactions).
- Reusing contaminated clay bar sections (spreads particles).
- Skipping rinse steps between products (chemical interference).
Clay bar contamination signs:
- Dark streaks or particles are visible in the clay.
- Increased drag during application.
- Scratching sounds during use.
- Clay becomes hard or brittle.
Iron remover failure indicators:
- No purple reaction on obviously contaminated surfaces.
- Product expires or becomes diluted.
- Application in temperatures above 80°F.
- Insufficient dwell time (less than 3 minutes).
Recovery strategies: Stop immediately if the clay bar shows contamination. Clean clay thoroughly or use a fresh section. For iron remover issues, reapply with proper technique and timing.
Conclusion
The Clay Bar vs Iron Remover decision comes down to understanding contamination types and using the right sequence. Always start with iron remover to dissolve metal particles, then follow with clay bar for surface contaminants. This chemical-to-mechanical approach prevents damage, saves money, and delivers professional results.
Your next steps: Test your vehicle with iron remover to assess contamination levels. If purple reaction occurs, complete the full iron remover process before clay bar treatment. For vehicles showing no metal contamination, clay bar alone provides adequate decontamination.
Action plan: Purchase both products for complete paint care flexibility. Most vehicles benefit from the combined approach every 3-6 months, depending on environmental exposure and storage conditions.
FAQ
Should I always use both clay bar and iron remover?
No, test with the iron remover first. If no purple reaction occurs, the clay bar alone may suffice for surface contaminants.
Can I mix iron remover and clay bar lubricant?
Never mix iron remover with other products. Use each product separately with thorough rinsing between applications.
How often should I use an iron remover vs clay bar?
Iron remover every 3-4 months, clay bar every 6 months for most vehicles. Adjust frequency based on contamination levels.
What happens if I use a clay bar first?
Clay bar picks up metal particles, becomes contaminated quickly, and may scratch paint. Always use an iron remover first.
Can an iron remover damage paint or clear coat?
Quality iron removers are pH-balanced and safe for automotive paint when used as directed. Avoid cheap, highly acidic products.
How do I know when the clay bar is too contaminated?
Replace the clay bar when it shows dark streaks, feels gritty, or creates drag during application.
Is an iron remover necessary for new cars?
Yes, new cars accumulate brake dust and environmental fallout immediately. Iron remover prevents early contamination buildup.
Can I use household alternatives to these products?
No, automotive-specific products are formulated for paint safety. Household cleaners may damage the clear coat or paint.
How long should I wait between the iron remover and the clay bar?
Wait 10-15 minutes after final rinse to ensure complete chemical removal and proper surface preparation.
Do I need different products for wheels vs paint?
Use the same iron remover for both, but wheels may need a stronger concentration or longer dwell time.
What temperature is best for using these products?
Work in shade with surface temperatures below 80°F for optimal chemical reaction and product performance.
Can I clay bar without an iron remover if I detail monthly?
Frequent detailing reduces contamination, but test with the iron remover first. Monthly clay bar alone works for garage-kept vehicles.