
")
Don’t Let a Mechanic Scare You Into Unnecessary Brake Jobs
I’ve lost count of how many times a friend has come to me panicked because a shop told them their brake pads were at 4mm and “dangerous” to drive.
Usually, they’re holding a quote for $600 worth of pads and rotors. And nine times out of ten, they still have plenty of life left.
Brake pads are thicker than most people realize. A brand-new pad measures about 12mm (roughly half an inch).
When a mechanic says you’re at 4mm, they aren’t lying about the measurement, but they are often playing the liability card or simply trying to sell you parts.
With a little knowledge, you can make that call yourself and save hundreds.
Let’s walk through exactly how to check your pads, what the numbers really mean, and when you absolutely need to replace them.
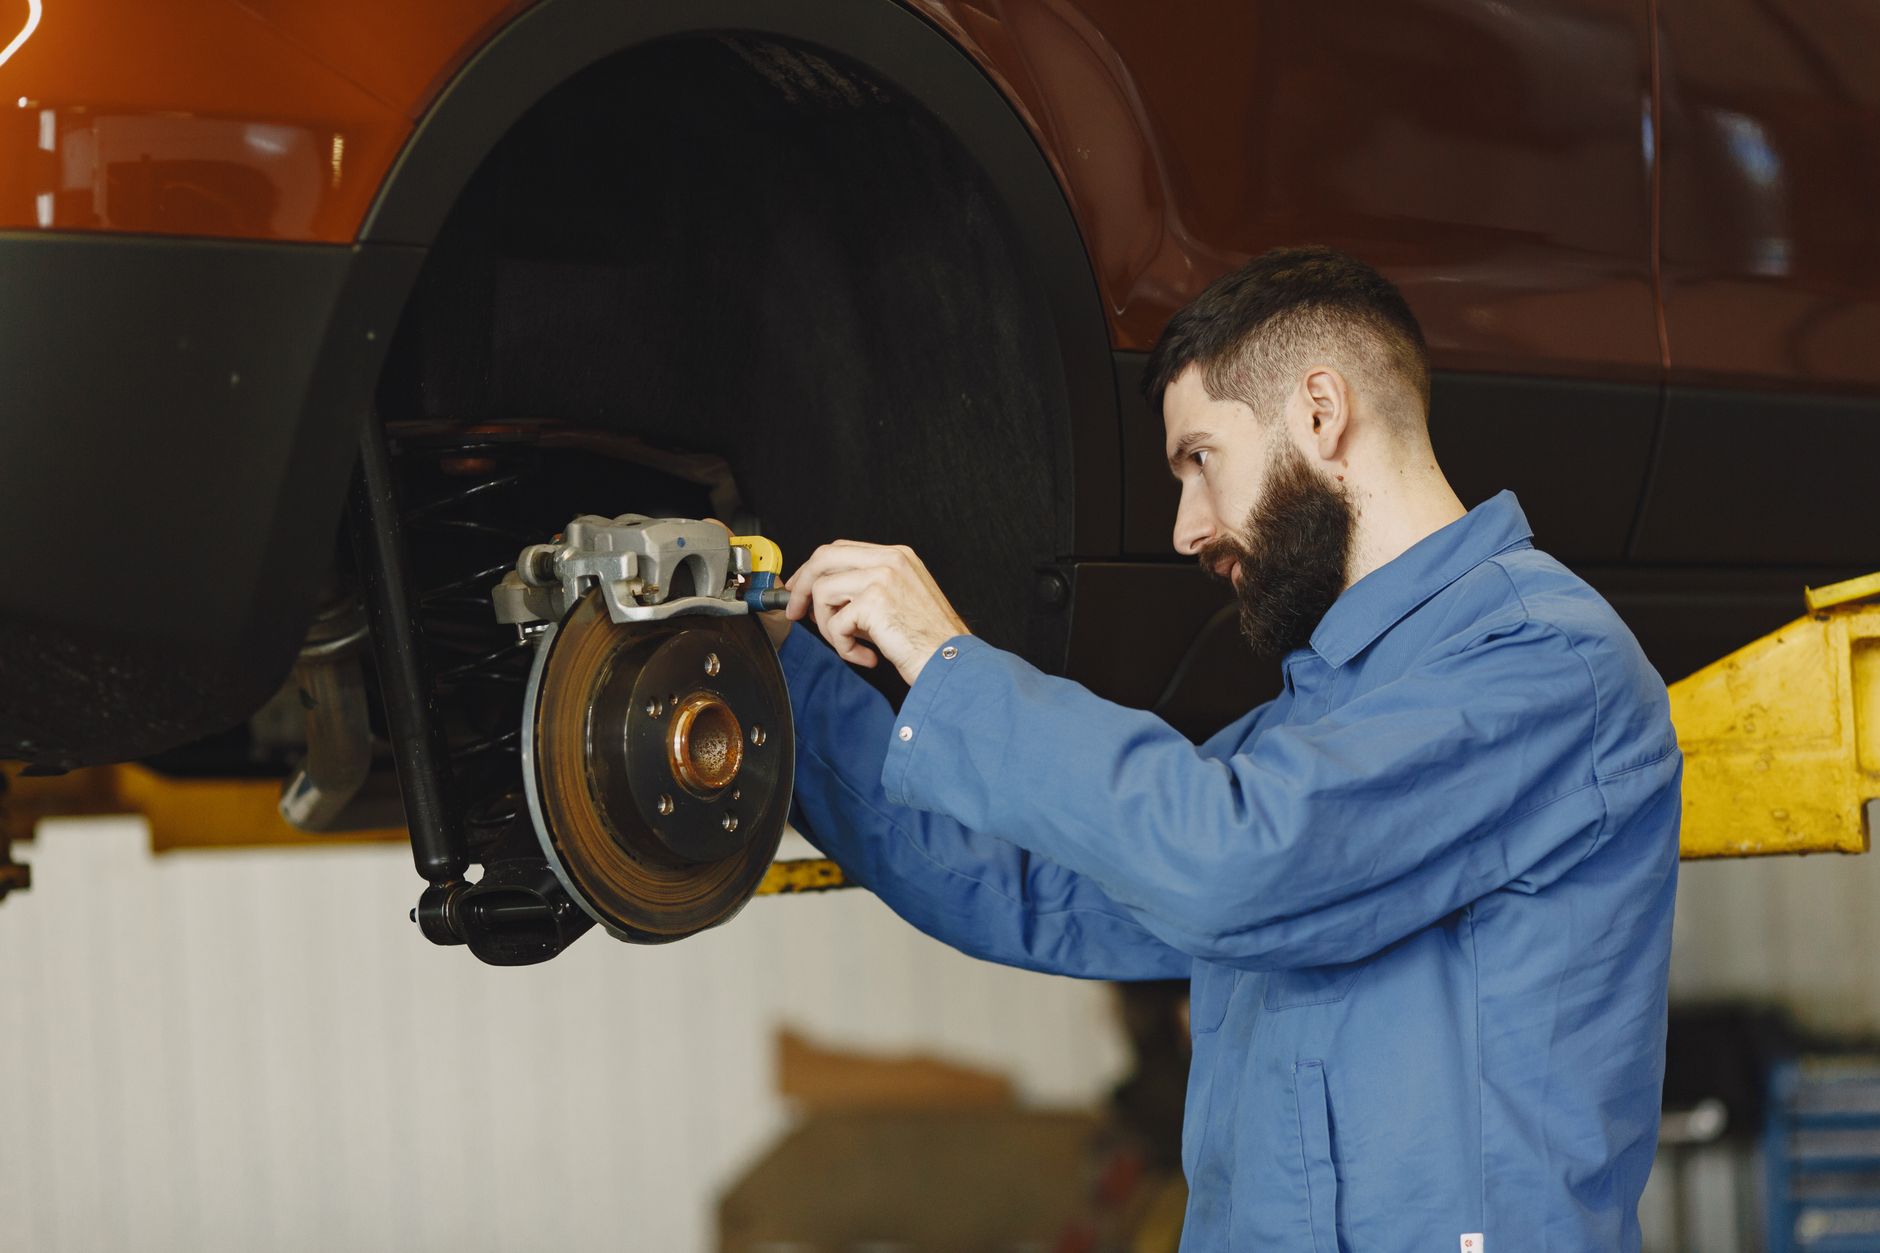
How to Inspect Brake Pads Without a Lift?
You don’t need a professional lift or special tools to check your brake pads. In fact, on many cars, you can do a quick visual inspection without even taking the wheel off.
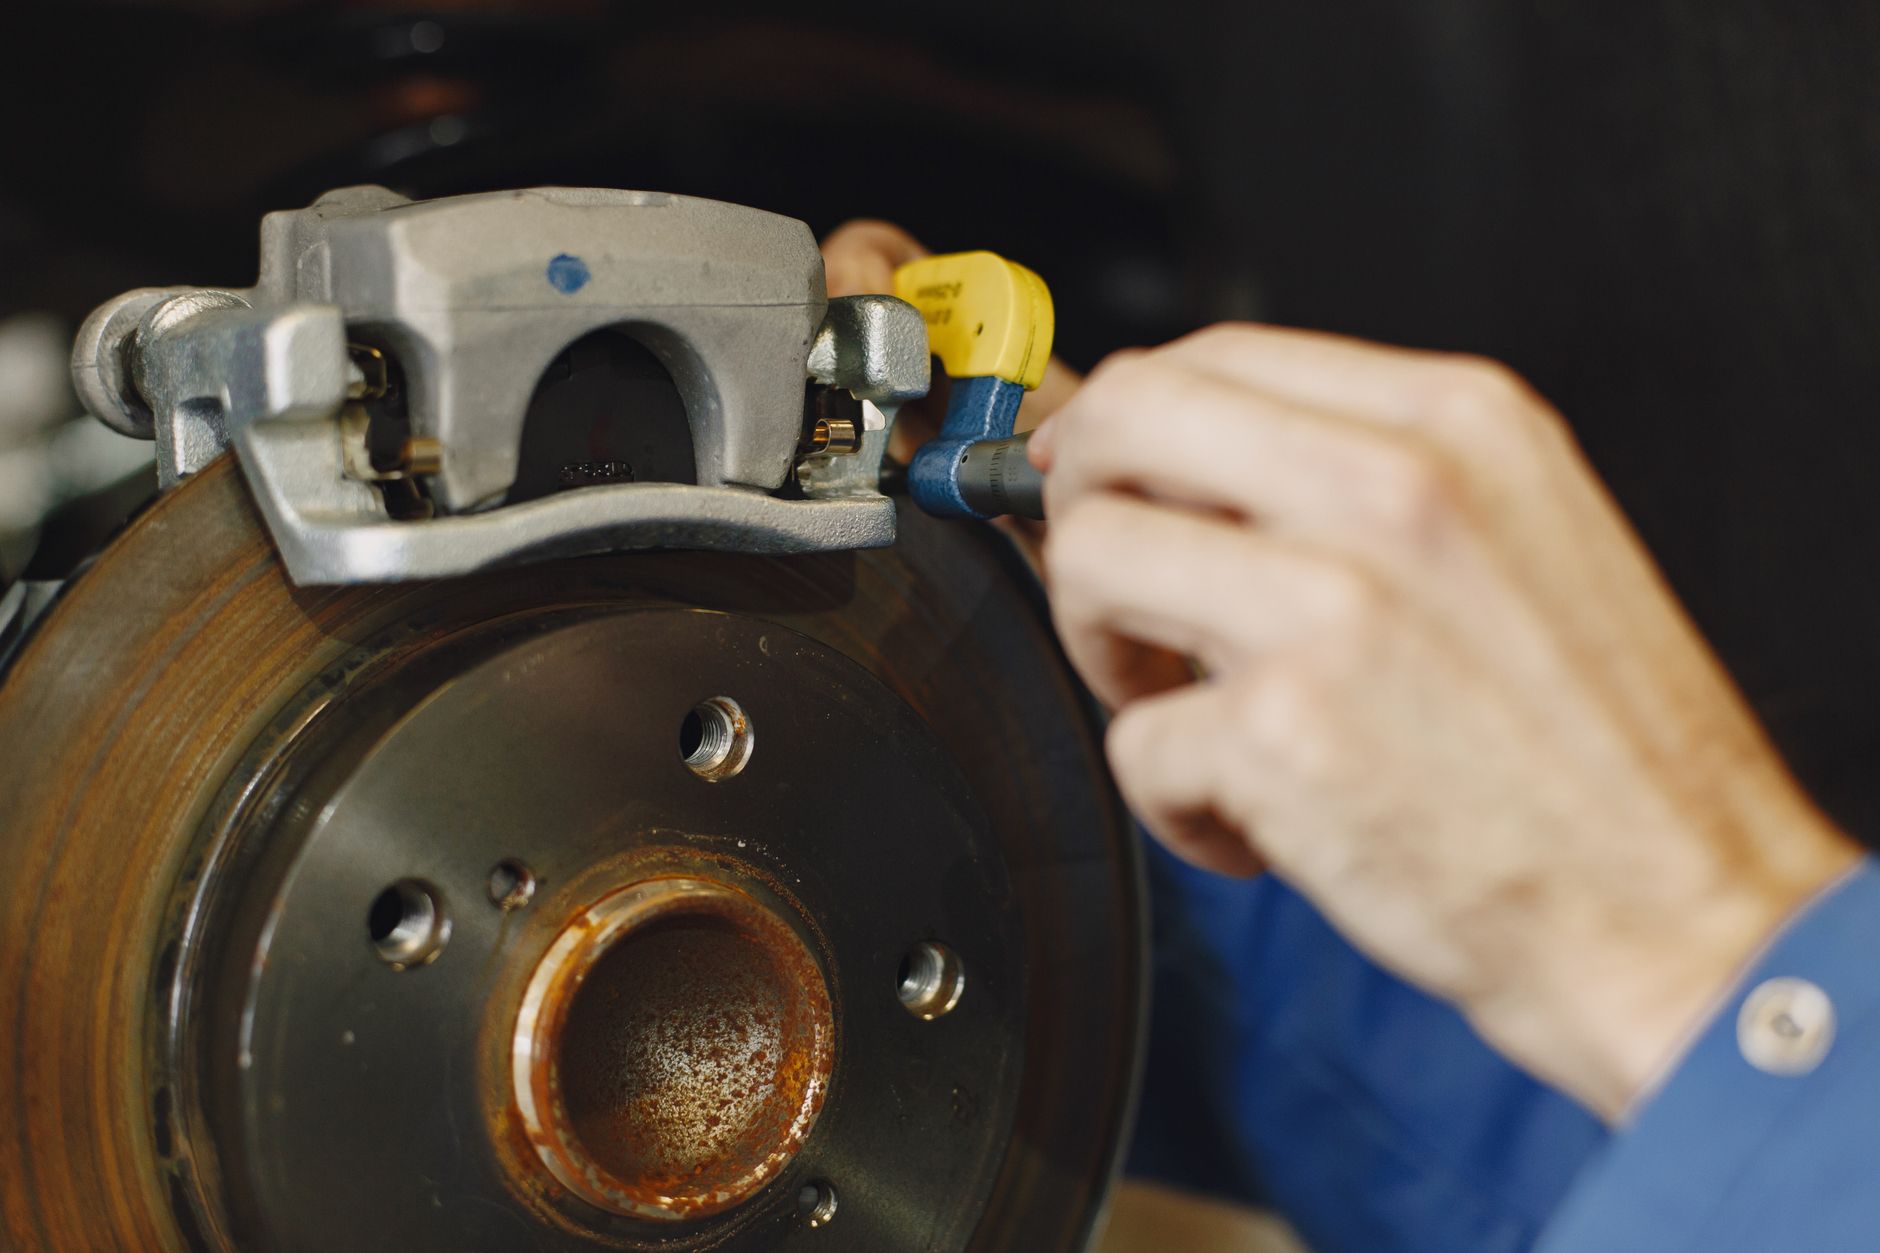
Start by looking through the spokes of your wheel at the brake caliper. Some cars have large openings in the caliper that let you see the pad where it contacts the rotor.
Others have a plastic cover that pops off easily. If you can see the pad material, not the metal backing plate, you can gauge thickness right there.
If the caliper is too enclosed, the next method is to crawl under the car and check the back side of the caliper. This is easier if you turn the steering wheel so the caliper is facing outward.
A trick I use often: grab your phone, open the camera, and slide it into tight spaces. The screen lets you see what you can’t get your eyes to.
Last week, I had a neighbor with a minivan complaining about a scraping noise. I couldn’t see the pads through the front of the wheel or from behind.
So we popped the wheel off. Once the wheel was out of the way, I could see the inner pad through the caliper’s vent holes, and sure enough, it was down to the metal on one side. The outer pad still had 5mm.
That’s the moment people realize why checking just one side isn’t enough.
The Real Numbers: When Are Brake Pads Actually Worn Out?
I get this question constantly: “At what thickness do I need new pads?” Here are the straight numbers:
- New pad: ~12mm
- Common shop recommendation: Replace at 4–5mm
- Safe minimum for most drivers: 3mm
- Indicator squealer activates: ~2mm (on pads that have them)
- Metal-on-metal danger zone: Below 2mm on the friction material
For reference, 3mm is about the thickness of two stacked pennies. I’ve personally run pads down to 2mm on my own daily driver and had no issues, but I drive mostly flat highway miles and check them weekly. If you’re commuting in the mountains or towing, you’d want to replace earlier.
The key variable is heat. Thin pads heat up faster, which reduces braking effectiveness. That’s why the 4mm recommendation exists: it’s a safe blanket statement for shops that don’t know your driving habits.
But if you inspect your own brakes regularly, you can safely run them to 3mm without worry.
Why You Should Always Check Both Sides?
Uneven wear is incredibly common, and it’s the reason I never trust a single pad measurement. I once worked on an SUV where the driver’s side inner pad had 6mm, but the passenger side inner pad was down to bare metal, with the indicator dragging. The owner had been told by a shop that all four pads were fine.
How does that happen? A sticking caliper, a collapsed brake hose, or simply a difference in how the brake force distributes across the axle. If you only check the easy-to-see pad on one side, you’ll miss the problem entirely.
Pro tip: When you do a visual check, compare the thickness of the inner and outer pad on the same wheel, then repeat on the opposite side. If you see a discrepancy of more than 2mm between inner and outer pads, you likely have a sticking caliper that needs attention, not just new pads.
That Squealing Sound: Friend or Foe?
Not every squeal means your pads are shot. Tires, suspension components, and even gravel caught between the rotor and dust shield can make alarming noises.
But the most common brake-related squeal comes from a small metal tab on the pad called the wear indicator.
When the friction material wears down to about 2mm, that indicator rubs against the rotor, producing a high-pitched scraping sound. It’s designed to be annoying enough that you’ll address it before the pad goes metal-on-metal.
In the minivan I mentioned earlier, the owner heard that exact noise. When I pulled the inner pad, the indicator was polished and shiny from constant contact.
The pad itself was maybe 1mm away from the steel backing plate. He had caught it just in time another week, and he would have needed rotors too.
Important: Some pads don’t have wear indicators at all. If your car is quiet but you suspect wear, always do a visual check. Silent brakes can fail just as fast.
Rotors: When to Replace, When to Reuse
Here’s a controversial take: you don’t always need new rotors when you change pads. Most chain shops will tell you to replace rotors every time, citing “minimum thickness” or “warping.”
The reality is that if the rotor surface is smooth—no deep grooves, rust pitting, or a pronounced lip you can often reuse them.
I usually check three things:
- Surface condition: Can you feel a groove with your fingernail? If it’s minor, a quick resurface is fine. If it’s more than 1.5mm deep, replace.
- LIP thickness: Rotors develop a raised edge where the pad doesn’t contact. A lip up to 1mm is normal. More than that means significant wear.
- Thickness variation: If you have a micrometer, measure across the rotor face. Variation above 0.005 inches indicates uneven wear that can cause pedal pulsation.
A good rule of thumb: if the pads wore unevenly or the indicator was dragging for miles, the rotor likely has heat damage and should be replaced.
If the pads wore evenly and you caught them early, rotors can easily survive a second pad set.
Driving Conditions Change Everything
The numbers I gave earlier (safe to 2–3mm) assume normal driving. But your personal situation might demand earlier replacement.
- Mountain driving or towing: Heat buildup is higher. Replace at 4mm.
- Heavy stop-and-go traffic: Frequent braking accelerates wear. Check at 4mm, replace at 3mm.
- Performance driving or track use: Pads can overheat and crack even if thick. Inspect the friction surface for cracking or glazing.
- Winter/salt belt: Rotors rust faster. Even with good pad thickness, if the rotor surface is pitted, you’ll get poor braking.
Last year, I helped a friend who drives a delivery van in San Francisco. His pads looked fine at 5mm, but the rotor faces were heavily rusted from constant moisture.
We ended up replacing both rotors and pads because the rust had created a rough surface that chewed through new pads in two months.
This is why I tell people: learn to inspect your own brakes, track how fast they wear, and adjust your replacement threshold based on what you experience.
Frequently Asked Questions
Can I drive with brake pads at 4mm?
Yes, in most cases. 4mm is safe for normal driving, especially if you don’t live in a hilly area. I’d recommend checking again in 1,000 miles, but you don’t need to panic.
What if I don’t hear any noise? Does that mean my pads are fine?
Not necessarily. Some pads lack wear indicators, and some cars with rear drum brakes don’t make noise until the shoes are completely gone. Always do a visual check every oil change or 6,000 miles.
Should I replace rotors every time I change pads?
Only if they show signs of wear grooves, a thick lip, or thickness below the manufacturer’s minimum spec (usually stamped on the rotor edge). Reusing good rotors can save $100 or more per axle.
My mechanic said I need new calipers, too. Is that true?
Not usually. Calipers only need replacement if they’re sticking (uneven pad wear) or leaking brake fluid. If your pads are wearing evenly and there’s no fluid on the boot, your calipers are fine.